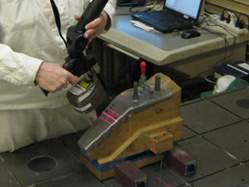
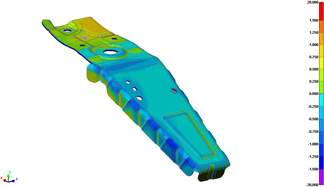
KTH develops and manufactures quality automotive parts and components worldwide by utilizing 3D Laser Scanners on our Portable Coordinate Measure Machines (PCMMs) to evaluate production parts. These laser scanners create 3D images from several million points called a “point cloud” which are then overlaid on a Computer Aided Design (CAD) data model. A Quality Engineer can visually compare the scanned data with the CAD data and quickly determine the root cause of a potential issue which may be out-of-spec. In this instance, countermeasures are created to improve our processes and, ultimately, improve the quality of our customers’ product.


